Industrial design sketching is the backbone of turning ideas into tangible concepts. It’s not just about drawing; it’s about communicating form, function, and emotion through lines and shapes.
Whether you’re brainstorming a new product or refining details, mastering sketch techniques can dramatically boost creativity and clarity. Over time, these skills help designers visualize complex ideas quickly and effectively, saving valuable time in the development process.
If you’ve ever wondered how top designers bring their visions to life on paper, you’re in the right place. Let’s dive deeper and explore the essential sketching techniques you need to know!
Capturing the Essence: Rapid Ideation Techniques
Freehand Drawing to Unlock Creativity
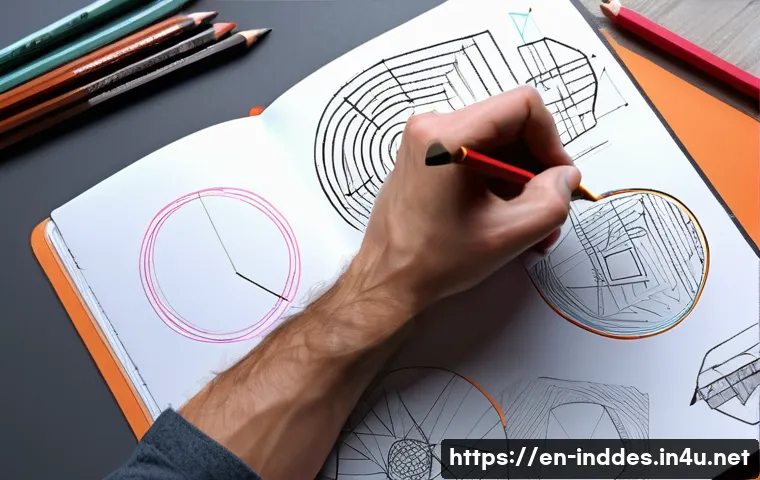
When I first started sketching, I realized that freehand drawing isn’t about perfect lines or detailed shading; it’s about unleashing raw ideas quickly.
This technique lets your hand move without constraints, helping you capture the initial spark of a concept before your brain overthinks it. I often find that the rougher the sketch, the more authentic the idea feels, because it’s free from the pressure of precision.
Using simple shapes like circles, squares, and triangles, you can form the basic structure of any product, allowing you to explore multiple variations in minutes.
This approach is invaluable during brainstorming sessions where speed and volume of ideas matter more than polish.
Thumbnail Sketching for Concept Exploration
Thumbnail sketches are tiny, simple drawings that summarize a design idea in just a few strokes. I use thumbnails to explore different silhouettes and proportions without committing too much time.
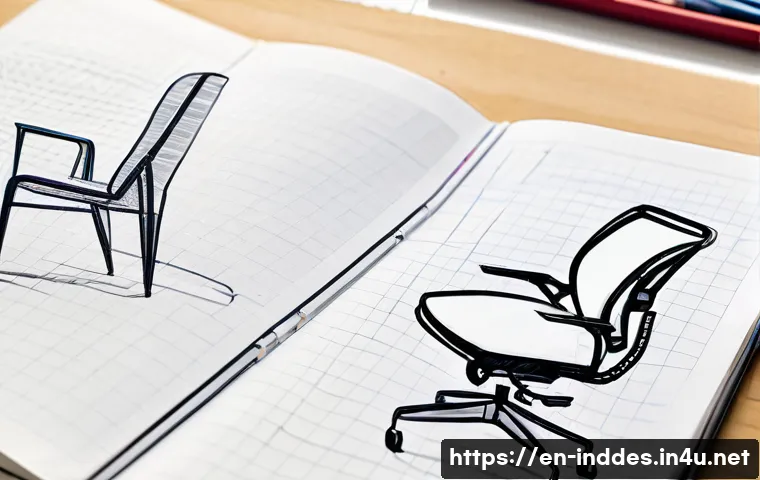
These mini sketches act like visual notes, helping me compare concepts side by side. For instance, when designing a new chair, I might draw 10 thumbnails in under 15 minutes, each showing different backrest heights or leg shapes.
The beauty of thumbnails is their flexibility—they’re quick enough to encourage experimentation and detailed enough to suggest form and function. Plus, they’re a great way to communicate early ideas to clients or teammates without overwhelming them.
Gesture Sketching to Convey Movement and Emotion
Gesture sketching is all about fluidity and motion. It’s a technique I rely on when I want to express how a product feels in use rather than just how it looks.
By focusing on dynamic lines and curves, you can convey ergonomics, user interaction, and even the product’s personality. For example, sketching the smooth curve of a handheld device with a sweeping gesture can instantly communicate comfort and ease of grip.
This method often involves quick, confident strokes that capture the energy of a design, making it easier to spot what works and what doesn’t before refining details.
Building Depth: Understanding Perspective and Volume
Mastering One-Point and Two-Point Perspective
Perspective is the secret sauce that transforms flat sketches into believable three-dimensional forms. I always start with one-point perspective to anchor my design on a simple plane—like looking straight at a product’s front face.
Once comfortable, I move on to two-point perspective, which adds depth by showing two sides converging towards separate vanishing points. This technique is essential when sketching products with angular shapes, like furniture or gadgets.
Getting these basics right helps the viewer immediately grasp the form and spatial relationship of the design, which is crucial for presentations or early-stage evaluations.
Using Construction Lines for Accurate Proportions
Before jumping into shading or details, I draw light construction lines to map out the product’s proportions and angles. Think of these lines as the skeleton of your sketch, guiding every curve and edge.
In my experience, investing a few minutes here saves hours later because it prevents distortions and keeps the design consistent. For example, when sketching a helmet, construction lines help maintain symmetry and ensure that all elements, like visors and padding, align perfectly.
These lines remain subtle but are indispensable for creating believable volumes.
Shading and Contour for Realistic Depth
Adding shading isn’t just about aesthetics; it’s about communicating form and materiality. I usually apply soft gradients or hatching to suggest light sources and surface texture.
Contour lines, drawn around the edges or curves, emphasize the product’s shape and weight. In my sketches, the interplay between light and shadow brings designs to life, making them easier to visualize and critique.
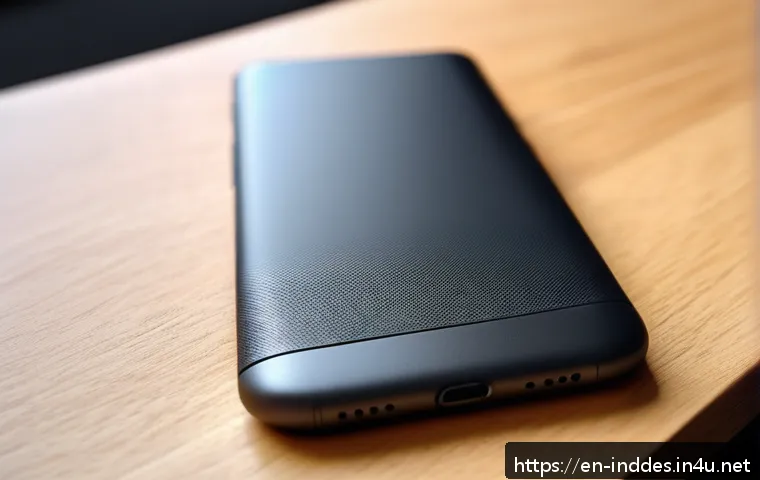
For instance, highlighting the glossy finish on a smartphone or the matte texture of a speaker grill can influence how users perceive quality and usability.
Expressing Functionality Through Detail and Annotation
Incorporating Functional Notes Within Sketches
Sketches aren’t just visual; they’re a form of communication. I always add brief annotations to clarify materials, mechanisms, or user interactions that aren’t obvious in the drawing alone.
For example, a note indicating “foldable hinge” next to a laptop sketch saves time explaining its innovation verbally. These annotations can also highlight key selling points or design challenges, making the sketch a more effective tool during team discussions or client presentations.
Balancing Detail and Simplicity
One mistake I’ve seen many beginners make is overloading sketches with too much detail too soon. It’s important to strike a balance—too little detail can leave ideas vague, while too much can bog down the creative process.
I usually begin with clear outlines and major features, then selectively add details that enhance understanding without cluttering the page. This approach ensures the viewer focuses on the design’s core innovation rather than getting lost in minutiae.
Using Color and Texture to Highlight Key Features
Color isn’t just decorative; it’s a powerful tool to draw attention and convey material differences. I often use colored pencils or markers to differentiate components or emphasize functionality.
For instance, a red accent might highlight a button or an ergonomic grip area, instantly guiding the eye. Texture, whether suggested through stippling or cross-hatching, adds another layer of realism that helps stakeholders imagine the product’s tactile experience.
Tools and Materials That Make a Difference
Choosing the Right Sketchbook and Paper
The feel of your tools can really influence your sketching flow. Personally, I prefer smooth, heavyweight sketchbooks that handle ink and markers without bleeding.
The tactile feedback of the paper affects how confident and free my lines feel. Some designers swear by grid or dot paper for maintaining proportions, while others like blank pages to encourage unrestricted creativity.
Experimenting with different surfaces helped me find what best suits my style and project needs.
Essential Drawing Instruments for Industrial Design
From mechanical pencils to fine liners and markers, having the right tools is crucial. I tend to carry a range of pencils with varying hardness—from 2H for light construction lines to 6B for deep shading.
Fine liners help in defining edges sharply, while alcohol-based markers add vibrant colors and smooth gradients. Investing in quality tools not only improves the final look but also makes the sketching process more enjoyable and less tiring.
Digital Sketching: When and How to Transition
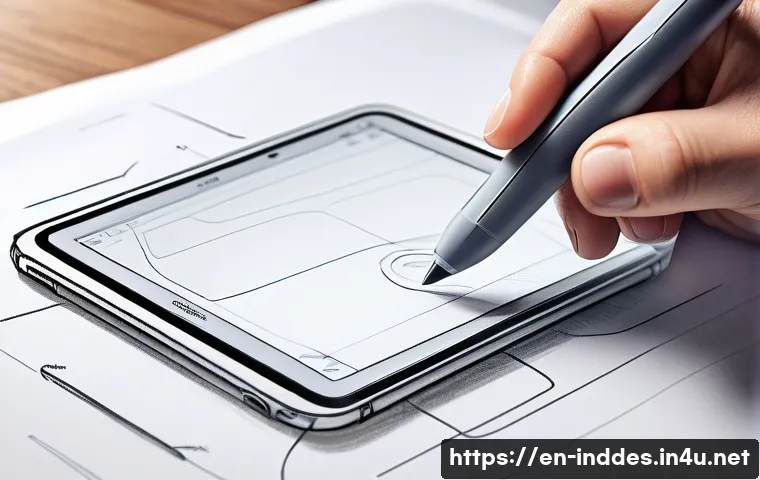
Although nothing beats the tactile experience of pen and paper, digital sketching offers incredible flexibility. I use tablets with pressure-sensitive styluses for quick edits, layering, and color experiments.
Digital tools also make sharing and collaborating easier, especially in remote work environments. However, I find starting concepts on paper first allows ideas to flow more naturally before refining them digitally, blending the best of both worlds.
Organizing Sketches for Maximum Impact
Creating a Visual Storyboard
When presenting ideas, grouping sketches into a storyboard format helps tell a compelling narrative. I arrange sketches to show a product’s evolution, user interaction, or assembly process.
This method keeps viewers engaged and makes complex concepts easier to understand. For example, a storyboard for a wearable device might start with a rough silhouette, move to detailed features, and end with usage scenarios.
Maintaining a Sketch Archive for Reference
Over time, building a personal archive of sketches becomes a treasure trove of inspiration and technical solutions. I keep digital and physical folders organized by project or theme, making it easy to revisit past ideas.
This habit not only tracks progress but also accelerates future projects by providing a ready-made library of forms, details, and annotations.
Using Sketches as a Collaborative Tool
Sketches often serve as the universal language between designers, engineers, and marketers. I’ve found that sharing even rough sketches early on invites valuable feedback and fosters team alignment.
Annotated sketches can clarify misunderstandings and reduce costly revisions later. Encouraging collaboration around sketches turns individual ideas into collective innovations.
Common Pitfalls and How to Avoid Them
Over-Polishing Too Early
A common trap is spending too much time perfecting one sketch before exploring alternatives. I’ve been guilty of this myself. Over-polishing can stifle creativity and slow down the ideation process.
Instead, I now push myself to generate multiple rough sketches first, then refine the strongest ones. This approach keeps momentum high and ideas fresh.
Ignoring Ergonomics and User Interaction
Sketching isn’t just about aesthetics; function is king. Sometimes, I notice designers focusing solely on form without considering how a user will hold or operate the product.
Incorporating quick gesture sketches or simple user poses can reveal ergonomic issues early. It’s a step that saves headaches during prototyping and testing.
Neglecting Context and Environment
Designs don’t exist in a vacuum. I always try to sketch products within their intended environment or alongside complementary objects. For example, drawing a kitchen gadget next to familiar utensils helps communicate scale and usability.
This contextual awareness enriches the narrative and makes sketches more relatable.
| Sketching Technique | Purpose | Best Use Case | Key Benefit |
|---|---|---|---|
| Freehand Drawing | Rapid idea generation | Early brainstorming sessions | Encourages creativity and volume |
| Thumbnail Sketching | Concept exploration | Comparing multiple design directions | Quick visualization of form and proportion |
| Gesture Sketching | Expressing movement and ergonomics | Designs involving user interaction | Conveys product personality and function |
| Perspective Drawing | Creating depth and realism | Presenting 3D form accurately | Enhances viewer understanding |
| Annotated Sketches | Clarifying design details | Team communication and presentations | Improves clarity and reduces misinterpretation |
| Digital Sketching | Flexible editing and sharing | Refining and collaborating remotely | Combines speed with polish |
글을 마치며
Rapid ideation and effective sketching techniques are essential tools for any designer looking to bring ideas to life quickly and convincingly. Through freehand drawing, gesture sketching, and thoughtful annotation, the creative process becomes more fluid and productive. Mastering perspective and balancing detail with simplicity ensure that designs are both visually compelling and functional. Embracing both traditional and digital tools can elevate your workflow and collaboration. Ultimately, the key is to keep experimenting, refining, and communicating your vision clearly.
알아두면 쓸모 있는 정보
1. Starting with rough sketches encourages creativity and prevents the paralysis that comes from striving for perfection too early.
2. Thumbnail sketches are a powerful way to explore multiple concepts quickly without overwhelming yourself or your team.
3. Gesture sketching captures the energy and usability of a product, which helps in designing user-friendly solutions.
4. Using construction lines and perspective techniques early on ensures your designs have believable depth and accurate proportions.
5. Annotating sketches with functional notes and color highlights improves communication and reduces misunderstandings in collaborative settings.
중요 사항 정리
Effective ideation relies on balancing speed and clarity—don’t get stuck polishing one idea before exploring others. Incorporate user interaction and ergonomic considerations from the start to avoid costly redesigns later. Always place your designs in context to better convey scale and usability. Combining traditional sketching with digital tools enhances flexibility and collaboration, making your creative process more efficient and impactful. Remember, sketches are not just drawings but vital communication tools that drive innovation forward.
Frequently Asked Questions (FAQ) 📖
Q: What are the fundamental sketching techniques every industrial designer should learn?
A: At the core, every industrial designer needs to master quick gesture sketches to capture initial ideas rapidly. Then, moving on to contour drawing helps define the product’s shape and edges more clearly.
Shading and rendering techniques add depth and realism, making the sketches feel more tangible and three-dimensional. Personally, I found that practicing these in layers—starting simple and gradually adding detail—really enhances clarity without overwhelming the process.
This combination lets you communicate form, function, and even emotion effectively, which is exactly what turns a rough idea into a compelling concept.
Q: How can sketching improve the product development process?
A: Sketching acts like a visual brainstorming tool that speeds up decision-making. When you sketch, you externalize thoughts that otherwise stay abstract, allowing for quicker iteration and feedback.
From my experience working on product teams, those who sketch well can catch design flaws or opportunities early, saving hours or even days down the line.
It’s not just about making pretty drawings; it’s about clarifying ideas for yourself and your team. This clarity reduces misunderstandings and accelerates moving from concept to prototype, which ultimately saves time and resources.
Q: What tools and materials are best for industrial design sketching?
A: While digital tablets are increasingly popular, I still recommend starting with simple tools like mechanical pencils, fine liners, and smooth sketchbooks.
These traditional materials offer tactile feedback that helps develop hand control and fluidity in lines. For shading and texture, a set of graphite pencils with varying hardness is invaluable.
Once comfortable, integrating digital tools like a stylus and design software can enhance your workflow, especially for refinement and presentation. From my own journey, blending both analog and digital approaches gives the most flexibility and professional edge.